How to Update BIOS on Dell PowerEdge R640
Updating the BIOS on a Dell PowerEdge R640 server can improve system stability and ensure compatibility with new hardware or firmware. Follow these steps carefully to perform the update.
Step 1: Check the Current BIOS Version
Before proceeding with the update, it’s important to know the current BIOS version installed on your server. This is important because after we update we need a way to check if the new version has been installed. Run the following command to check the version:
sudo dmidecode -s bios-version
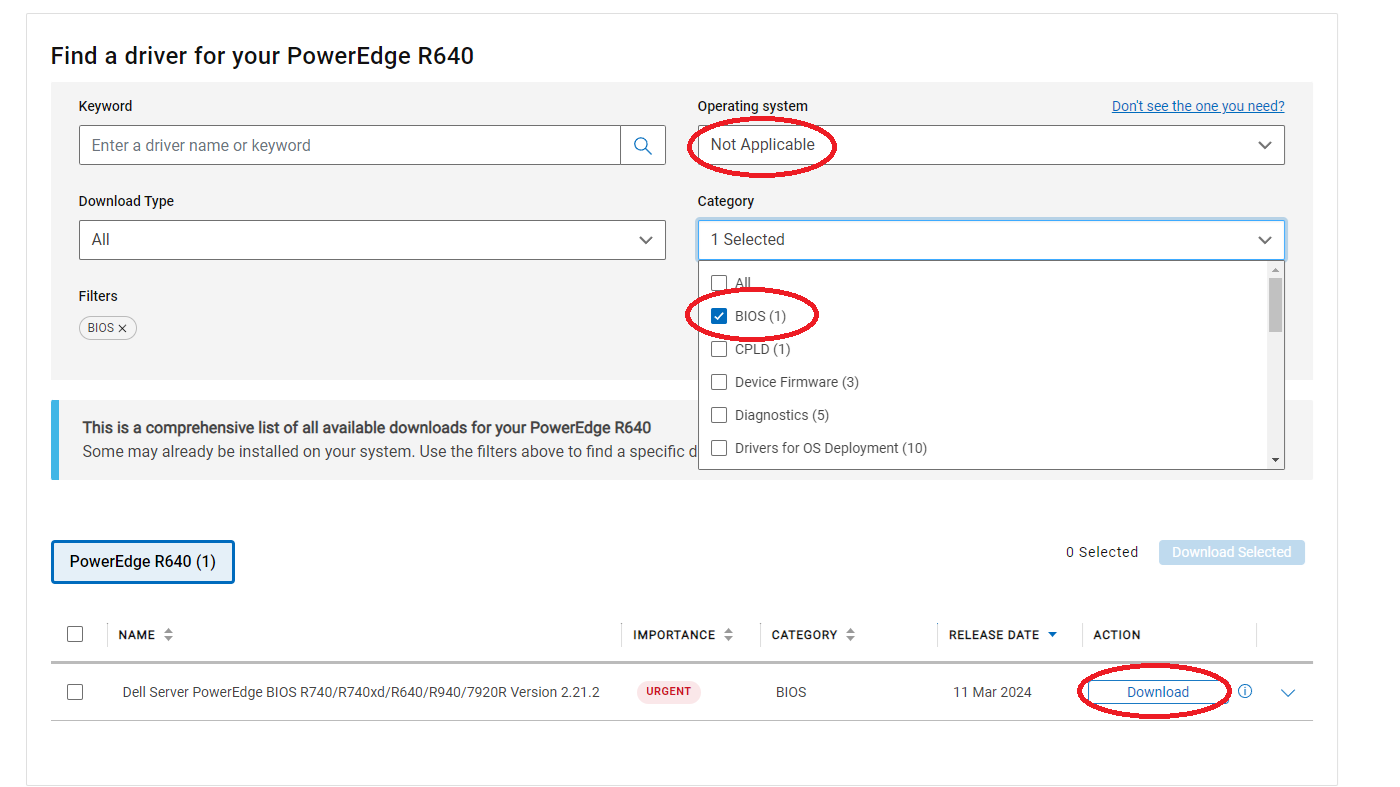
Step 2: Download the New BIOS Version
- Go to the Dell Support Website for PowerEdge R640.
- Select
Not Applicablefor theOperating systemfield. - Choose
BIOSfor theCategoryfield. - Download the latest BIOS file to your local Dell machine (I will put the file in the
/tmpdirectory).
Note: Transferring the file using wget or curl might not work. Use a traditional method like downloading through a browser or USB. If you’re connecting remotely, use scp to upload the file to the /tmp folder on your server
Step 3: Make the BIOS File Executable
After the file is transferred, make it executable by running:
chmod +x /tmp/BIOS_FILE_NAME.BIN
Replace BIOS_FILE_NAME with the actual file name.
Step 4: Run the BIOS Update File
Execute the BIOS update file using the following command:
/tmp/BIOS_FILE_NAME.BIN
Replace BIOS_FILE_NAME with the actual file name.
If a message or instruction is shown, you can skip it by pressing the q key to continue the installation.
Step 5: Confirm the BIOS Installation
During the installation, you’ll be prompted to confirm the update. You may see a message like this:
  [...]
Software application name: BIOS
Package version: 2.21.2
Installed version: 2.4.8

Continue? Y/N:Y
[...]
Type Y to proceed.
Step 6: Reboot the Server
After the installation, you will be asked whether to reboot the server:
  [...]
Would you like to reboot your system now?

Continue? Y/N:Y
[...]
Type Y to reboot.
Note: If you are connected via SSH, you will be disconnected during the reboot. Wait for 5 to 15 minutes until the server restarts and becomes accessible again.
Step 7: Verify the New BIOS Version
Once the server is back online, verify that the BIOS was updated successfully by running:
sudo dmidecode -s bios-version
You should see the new BIOS version number.
Conclusion
Updating the BIOS on your Dell PowerEdge R640 is a crucial step for maintaining optimal performance, security, and hardware compatibility. By following the steps outlined above, you can safely update your server’s BIOS to the latest version. Always remember to double-check the BIOS version before and after the update to ensure the process was successful. If any issues arise during the update, refer to Dell’s official support documentation for additional troubleshooting tips. Regularly updating the BIOS is a best practice that helps prevent potential issues and keeps your server running smoothly.