How to use VIM as IDE without plugins
Using IDEs like VS Code or others is a convenient way to write programs; however, these IDEs consume a lot of storage on your machine, which may be problematic if you have an older machine. In such cases, a lightweight alternative is using Vim as a text editor in your terminal. Vim also supports plugins to extend its functionality, but for our purpose, we aim for a minimalist experience. Although we may utilize two plugins, it’s entirely optional, and you don’t have to use them.
File Explorer
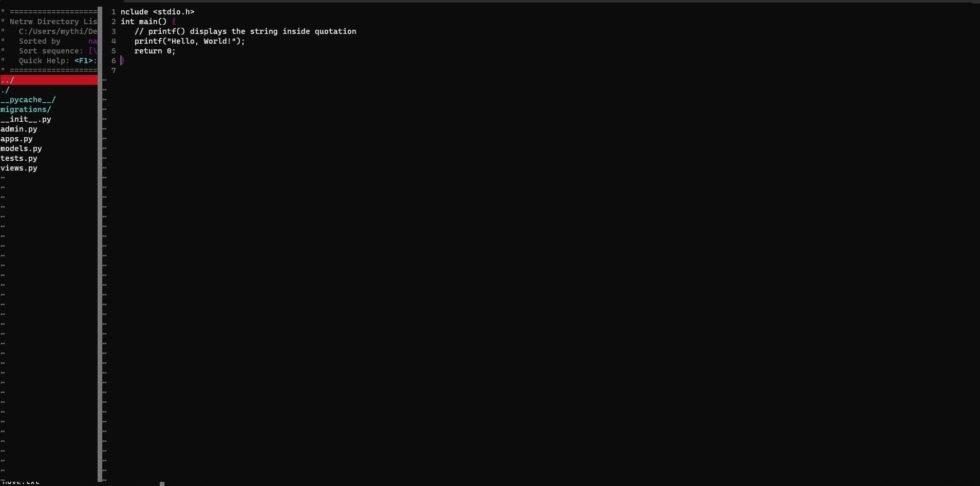
For file navigation, Vim users commonly employ NERDTree as a file explorer. However, since we prefer not to use plugins, Vim offers a built-in file tree for organizing files. To access it, enter command mode and type:
:Lex
This command opens the file manager, which is almost as functional as NERDTree. It even allows file creation by typing % or directory creation by typing d
Terminal
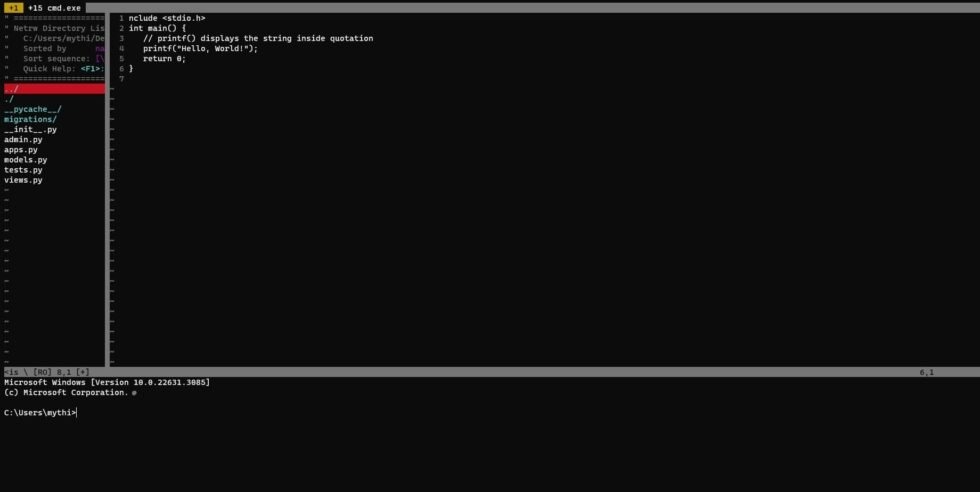
To simulate the terminal experience found in most IDEs, you can use a terminal at the bottom in Vim. Execute the command:
:bot term
This command displays the terminal at the bottom, allowing you to write your code on the right side, view files on the left side, and utilize the terminal for code execution.
Navigation
If you wish to display line numbers, simply type:
:set number
Now, you might want to use your mouse on the terminal to select text or position the cursor in a specific location. This is also possible with Vim. To enable mouse support, execute:
:set mouse=a
Tabs
Additionally, you may wish to utilize multiple tabs in Vim. However, this functionality is a bit complex because Vim operates with buffers to mimic the behavior of tabs in an IDE. To open a new window in a buffer, you can use the following command:
:e <file_path>
To display all open buffers, use:
:ls
To navigate to the previous buffer, execute:
:bp
For the next buffer, use:
:bn
Plugins
Now that we’ve covered the basics, if you’re interested in enhancing the usability of your editor and are open to installing some plugins, we have some recommendations for you.
To show all buffers as tabs, you may consider using:
vim-buftabline
The following plugins are for autocompletion and language detection. You can opt to use them but it’s not mandatory:
  vim-lsp
vim-lsp-settings
AutoComplPop
vim-buftabline
Final File
If you want to make these changes permanent, you’ll need to edit the vimrc file located at ~/.vimrc.
Your final vimrc file may look like this:
  set number
set mouse=a

call plug#begin()

Plug 'preservim/nerdtree'

" Language Server Protocol (LSP) plugins
" Language server connection plugin
Plug 'prabirshrestha/vim-lsp'
" Detect the language you're working on and install it with the command: LspInstallServer
Plug 'mattn/vim-lsp-settings'

" Auto completion popup
Plug 'vim-scripts/AutoComplPop'

" Show all buffers as tabs
Plug 'ap/vim-buftabline'

call plug#end()