How to Recover Full USB Space on Windows After Creating a Linux Bootable Drive
After flashing an OS onto a USB drive to make it bootable, you may find that the USB can no longer be used as it was before. This becomes a problem when you need to restore the full capacity of your USB to use it again. I encountered this issue myself after flashing Ubuntu and Linux Mint on my USB drive. Unfortunately, the default Windows Disk Management tool didn’t help. This blog post will show you how to restore all the partitions on your USB without installing any extra partition software on your Windows machine.
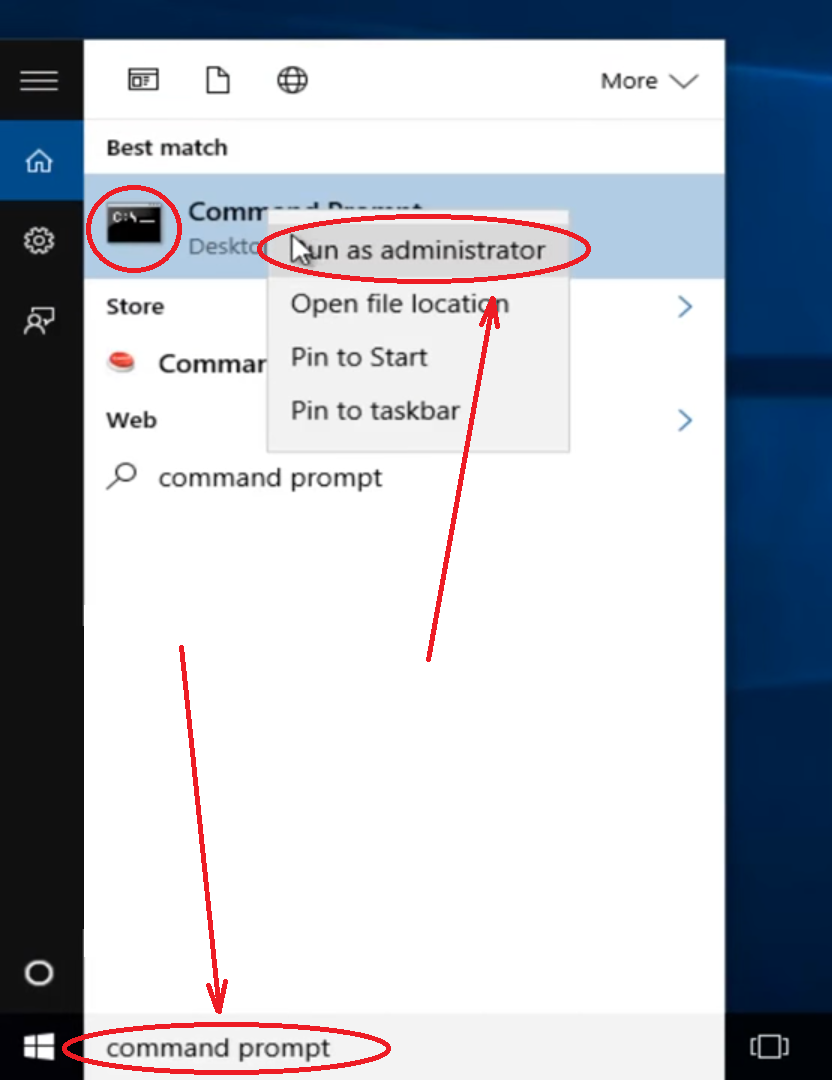
Step 1: Open Command Prompt as Administrator
- Go to the Start menu on Windows and search for “Command Prompt”
- Right-click on “Command Prompt” and select “Run as Administrator”
- You may be prompted with a confirmation message asking if you want to run this application as an administrator—just click “Yes”
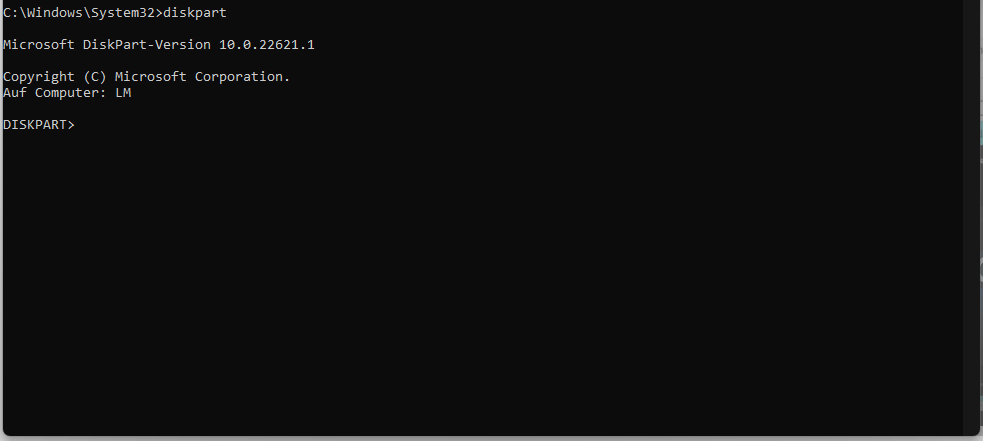
Step 2: Find and Select the USB Disk with Diskpart
- Open Diskpart by typing the following command in Command Prompt and pressing Enter:
diskpart
- List all available disks by typing:
list disk
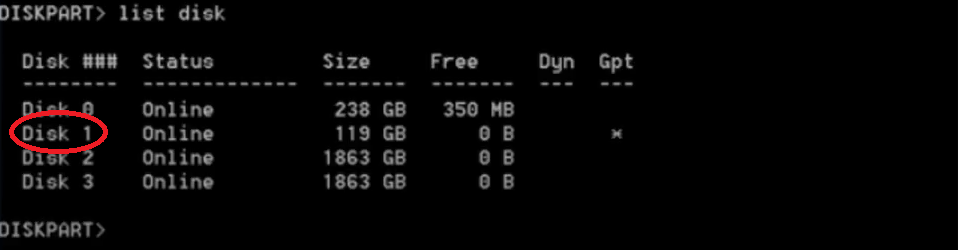
- Identify your USB drive by looking at the disk sizes. In my case, it is Disk 1. Select your USB disk by typing:
select disk 1
(Note: Make sure to replace 1 with the correct disk number for your USB to avoid deleting data from the wrong drive.)

Step 3: Find and Delete All Partitions on the USB Disk
Now, we will list all the partitions on your USB disk and delete them to create a single, full partition. Keep in mind that this step will delete all data on your USB.
- List the partitions on the selected disk by typing:
list partition

- Select the first partition you want to delete. In my case, it is Partition 2, so I’ll type:
select partition 2

- Delete the selected partition using the following command:
delete partition override

- If there are multiple partitions, repeat these steps for each one. In my case, I had one more partition to delete (Partition 1), so I ran:
select partition 1
delete partition override
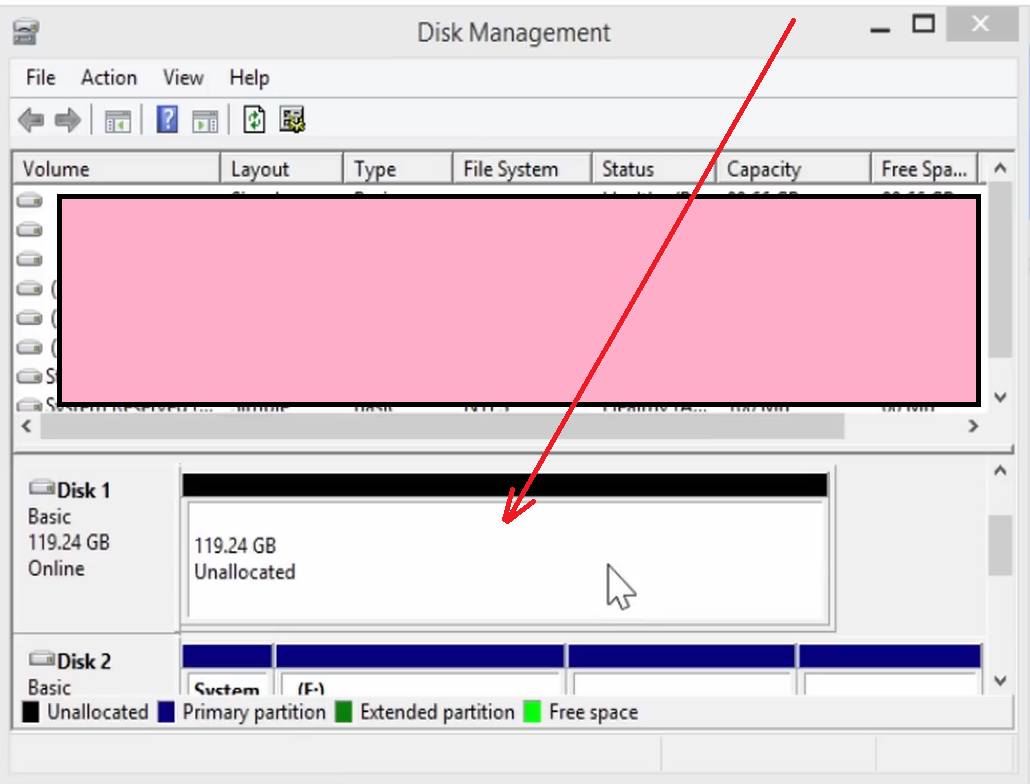
Step 4: Go to Windows “Disk Management” and Create a New Volume on the USB
- Go to the Windows Start menu again and search for “Disk Management.”
- Check if the USB shows up as “Unallocated” space. If so, you’ve successfully deleted all partitions.
- Right-click on the Unallocated space and select “New Simple Volume”. Follow the prompts to create a new volume based on your needs. The process is user specific and easy. After completing it, your USB should be restored to its full storage capacity.
Conclusion
Restoring your USB drive to its full capacity after using it as a bootable Linux installer can be done easily using Windows CMD without extra software. By following these steps, you can quickly reclaim your USB’s storage and make it functional again for everyday use.